 English
 中文简体
 عربى

News
Content
- 1 How Self Adhesive Foil Gives You Precise Adhesive Coverage
- 2 Where the Waste Comes From: Glue Versus Foil
- 3 How to Measure and Cut Self Adhesive Foil With Less Scrap
- 4 How to Put the First Strip Up Without a Redo
- 5 How to Pick the Right Roll Size, Adhesive and Finish
- 6 What to Do With the Liner and the Offcuts
- 7 Quick Answers About Applying Self Adhesive Foil
How Self Adhesive Foil Gives You Precise Adhesive Coverage
With liquid adhesive, the dosing is your problem. Squeeze hard and it oozes out of the joint. Go light and a corner pops up a month later. Foil takes that call away from you, because the adhesive is already on the back of the film when it leaves the factory.
The point: if you want adhesives with precise application and minimal waste, a pre-coated foil fixes the adhesive amount before the roll ships. On site, you only control the cutting and the first placement.
- The adhesive is coated across the full width at one set thickness
- A liner sits on top, so the layer stays clean until you peel it
- No mixing, no brush, no roller, no waiting for the glue to flash off
It only works if the coat is even. A heavy band on one side of the roll and a thin one on the other gives you a tight corner on one sheet and a loose one on the next. We run our coating machines to hold the thickness steady edge to edge, and that is the thinking behind our PVC self-adhesive foil range with factory-coated adhesive layers.
Where the Waste Comes From: Glue Versus Foil
Foil doesn't make waste vanish. It swaps one kind for another. You bin glue with the liquid stuff, and film and liner with foil.
- Liquid adhesive loses product through squeeze-out, skinned-over glue and half-used cans
- Foil loses film through offcuts and ruined strips, plus one liner per sheet
- Only some of the foil losses can be planned away, as the last column shows
| Waste source | Liquid adhesive | Self adhesive foil | Can planning reduce it? |
|---|---|---|---|
| Too much adhesive | Squeezes out at the edges | Not a problem, the coat is fixed | Not needed on foil |
| Missed open time | Glue skins over before you press | No open time to miss | Not needed on foil |
| Leftover product | Half-used cans that dry out | None | Not needed on foil |
| Offcuts | Same as foil | The biggest one | Yes, mostly |
| Crooked first placement | Usually final once it grabs | Can be lifted in the first few minutes | Yes |
| Release liner | None | One per sheet | Only partly, through collection |
Still deciding between the two methods? This comparison of how peel-and-stick film compares with separately applied laminate adhesives covers install time and bond behavior.
How to Measure and Cut Self Adhesive Foil With Less Scrap
Most of the film you throw away is decided at the tape measure, long before anyone picks up a knife.
- Measure the wall twice and write the numbers down
- Work out how many strips of your roll width you need
- Check whether the roll divides into whole strips or leaves a useless stub
- Cut each strip a little long and trim once it is stuck down
- Mark sockets, switches and door frames on the back of the film in pencil before peeling
Here is a worked example. The numbers are round and only there to show the method: a wall 3.0 m wide and 2.4 m high, with a roll 0.61 m wide.
| Step | Calculation | Result |
|---|---|---|
| Strips across the wall | 3.0 m ÷ 0.61 m = 4.9 | 5 strips |
| Length of each strip | 2.4 m + about 5 cm top and bottom | About 2.5 m |
| Total film needed | 5 × 2.5 m = 12.5 m | About 7.6 m² |
| Wall area | 3.0 m × 2.4 m | 7.2 m² |
| Extra film | 7.6 m² − 7.2 m² | About 0.4 m², a little under 6% |
A wider roll, a taller wall or a pattern that has to match will move those figures. Doing the sums first means the leftover shows up on paper, and not after you have cut. If you are fitting a patterned film or a tricky room, order one spare strip. It costs less than a second delivery.
How to Put the First Strip Up Without a Redo
A crooked sheet is the other big source of scrap, and it is easy to avoid if you slow down at the start.
- Peel about 10 cm of liner off the top and line the edge up with a pencil mark or a plumb line
- Press that exposed bit onto the wall first
- Pull the liner down slowly with one hand while the other drives a squeegee from the middle to the edges
- Leave the strip flat for a few hours before trimming
Working from the middle pushes air to the sides instead of trapping it. A felt-edged squeegee is gentle on the film, and on a smooth wall a rubber scraper does the job too, which is how our solid color foil with a strong yet removable adhesive backing is meant to be fitted.
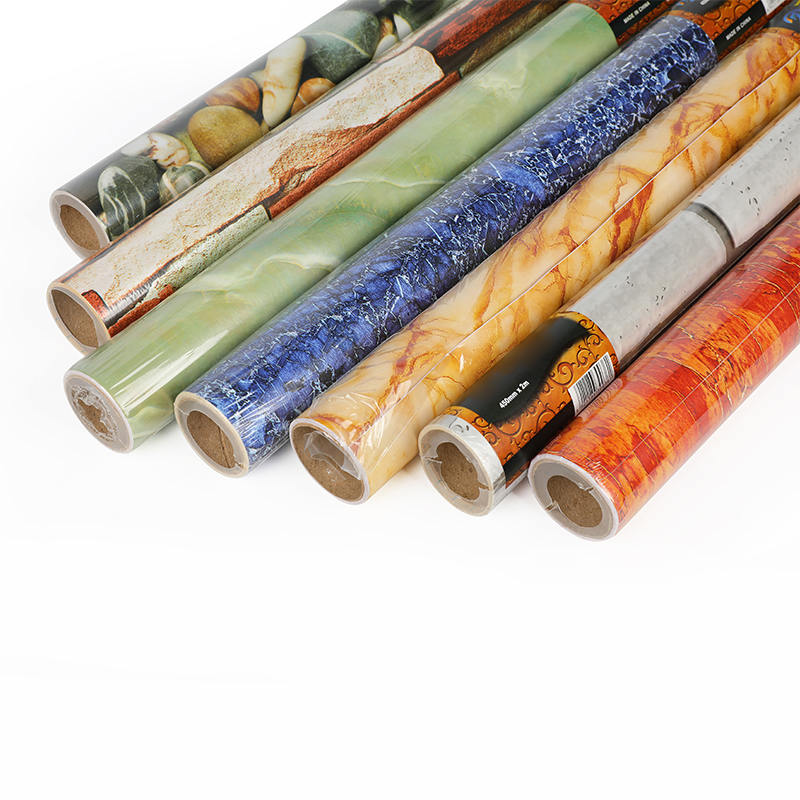
Strip gone on crooked? You have a few minutes before the bond builds. Fold it back and lay it down again.
| Do | Don't | What goes wrong otherwise |
|---|---|---|
| Fold a crooked strip back gently in the first minutes | Yank it straight off | Film stretches and the adhesive tears |
| Warm a stubborn corner a little before lifting | Pick at it cold with a blade | Corner tears or leaves residue |
| Wait a few hours, then trim with a sharp blade | Trim right after sticking | Blade drags unset adhesive, edge turns sticky and dusty |
| Press edges firmly with the squeegee | Leave edges loose | Corners lift within days |
Bubbles, wrinkles and lifting corners each have their own cause. This article on fixing bubbles and edge lifting when laminating PVC film goes through them one at a time.
How to Pick the Right Roll Size, Adhesive and Finish
You can save more when you order than at any other point. Standard rolls fit most walls, not all of them.
- On repeat jobs, like identical cabinet doors or a set of hotel rooms, a custom width or length can remove most of the offcuts
- We can make different sizes to order, so send your supplier the real dimensions instead of taking the nearest standard roll
- Glossy film shows every bubble and fingerprint, so first-timers waste more of it
| Your job | Look for | Reason |
|---|---|---|
| Rental or short campaign | Removable adhesive | Mistakes can be corrected, film comes off cleanly |
| Long-term install | Permanent adhesive | Stronger bond, little room for error |
| Vertical panel | Strong initial tack | Film holds position while you work |
| Many identical pieces | Custom width or length | Fewer offcuts per piece |
For a vertical panel, a high-gloss self-adhesive foil with strong initial tack stays where you put it. On floors, a reusable LVT flooring that can be lifted and repositioned turns a misplaced plank into a ten-second fix. And if you want to know why adhesives behave so differently, read how acrylic and rubber pressure-sensitive adhesives behave differently.
What to Do With the Liner and the Offcuts
On a foil job the liner is the biggest single thing in the bin. Every sheet has one, and it is useless the second the film is down. The label industry has the same issue at a much larger scale, and its trade body has started a joint push to find recycling routes for used liner and matrix material. You can read about it in the FINAT announcement of the CELAB-Europe recycling initiative.
- Ask your supplier whether the liner is paper or film
- Find out whether anyone nearby collects it
- Keep liners dry and clean, stacked apart from general rubbish
| Leftover | What to do | Why it helps |
|---|---|---|
| Used release liner | Keep dry, stack in one pile, ask about collection | Clean liner is easier to recycle |
| Large offcuts | Store flat on a spare liner | Adhesive stays clean until you need it |
| Narrow strips | Use on drawer fronts, shelf edges and switch plates | Turns scrap into finished surface |
| One sample piece per roll | Keep it labelled with the batch | Lets you compare color and tack when a new batch arrives |
Quick Answers About Applying Self Adhesive Foil
How much extra foil should I order?
Work out the strips first. The example above landed around 6 percent over the wall area. Patterned film that has to line up, tricky corners and a first attempt all push that up, so one spare strip is cheap insurance.
Can I move the foil once it's stuck down?
Usually, for a few minutes, and more easily with a removable adhesive. After the bond has built, pulling it off risks stretching the film or tearing the adhesive.
Why are my edges lifting after a few days?
Most often there was dust or damp at the edge, or the strip was trimmed before it had settled. Clean the surface, press the edges down hard, and wait a few hours before cutting.
 Previous