 English
 中文简体
 عربى

News
Content
- 1 Read the Wall Before You Peel Anything
- 2 Wall Graphics vs Adhesive Wallpaper: Different Films, Different Rules
- 3 Tools and Room Conditions That Matter
- 4 Wall Graphics Installation, Step by Step
- 5 Hanging Adhesive Wallpaper Panels
- 6 When It Goes Wrong: Bubbles, Lifting Edges and Seam Gaps
- 7 Matching the Film to the Room
- 8 Removing and Reusing Without Damaging the Paint
Read the Wall Before You Peel Anything
Most failed installs are decided before the liner comes off. A wall that looked fine on Saturday morning drops a decal by Sunday night, and the film takes the blame for what the wall did.
Start with the paint. Fresh paint keeps releasing solvent vapor while it cures, and a film sealed over it can trap that gas as bubbles or soften the adhesive underneath. The U.S. EPA notes that paints, varnishes and many adhesives contain organic solvents that evaporate into indoor air, which is exactly the gas you do not want sitting behind a film.
How long should you wait? Film makers disagree. One installation guide asks for at least five days after painting, another says no application within 30 days. Treat five days as the floor and 30 as the safe answer, especially after a heavy coat or in a closed room.
Then walk the wall with your palm. Dust hides in textured paint, and a graphic that falls off within the first day usually points to dust or a surface that was never smooth enough. Finally, think about what sits behind the plaster. Walls backing onto pipes, cooling units or cold windows can carry moisture you cannot see.
| Wall condition | Risk level | What to do |
|---|---|---|
| Cured gloss or semi-gloss paint | Low | Clean and apply |
| Flat or matte paint | Medium | Stick a test patch and leave it 48 hours |
| Low-VOC or no-VOC paint | Medium to high | Test patch first; consider a primer |
| Heavy texture or brick | High | Use a thicker film or choose another finish |
| Unsealed drywall or bare plaster | High | Seal with primer, then wait for it to cure |
| Wall behind pipes or a cold window | Moisture risk | Check for damp before committing |
Wall Graphics vs Adhesive Wallpaper: Different Films, Different Rules
The two terms get swapped constantly, yet the products behave differently on the wall. Wall graphics are cut or printed pieces, usually matte, with a low-tack adhesive meant to come off again. They travel on transfer tape, and you place them one piece at a time.
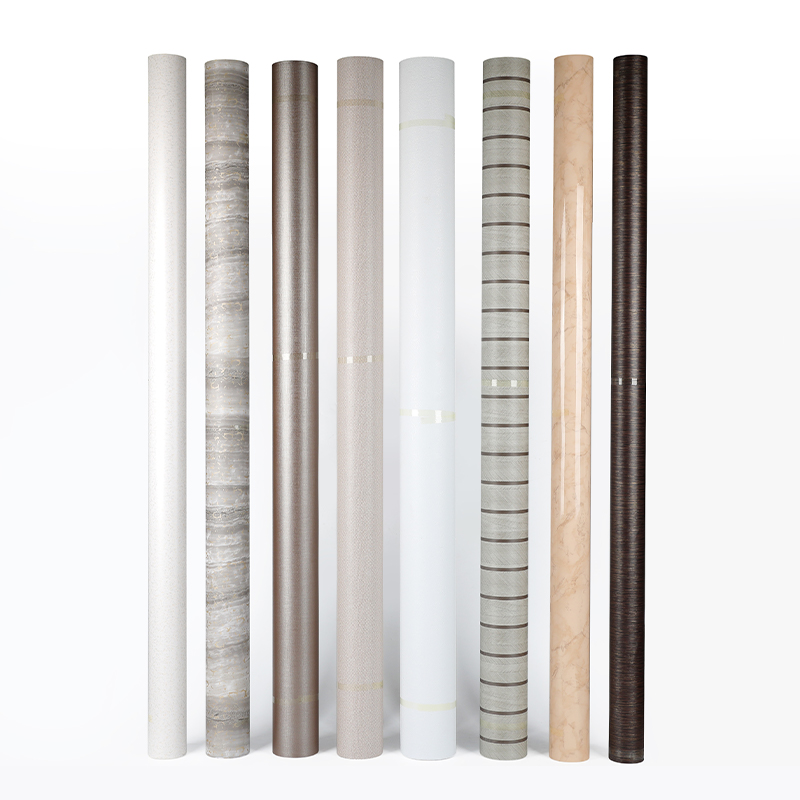
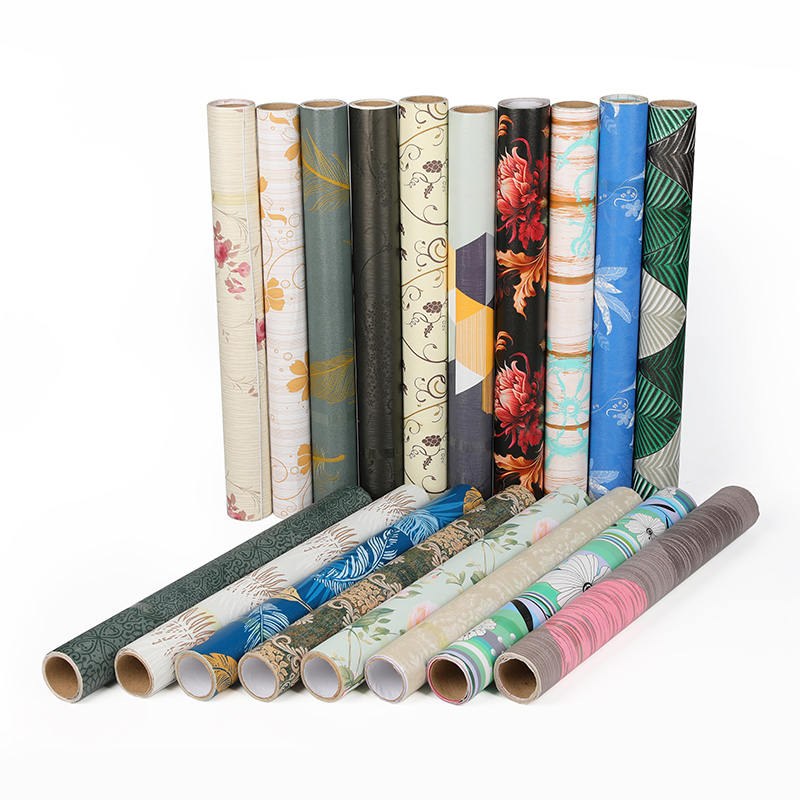
Adhesive wallpaper is a continuous roll with a paper liner. You hang it in panels, so seams, alignment and long vertical runs matter far more than they do for a decal. Rolls of PVC self-adhesive foil for interior walls sit in this second group, and the adhesive layer decides how the whole job ages.

Han Yang’s own technical notes put initial tack of 8 to 12 N per 25 mm as a workable range for painted interior walls. Go much higher and removal can lift paint; go lower and the edges start to curl.
| Factor | Wall graphics | Adhesive wallpaper |
|---|---|---|
| Format | Cut or printed pieces | Full-width roll, hung in panels |
| Typical finish | Matte | Matte, embossed, gloss, printed |
| Adhesive intent | Removable, low tack | Pressure-sensitive, often longer term |
| Biggest install risk | Alignment of separate pieces | Seams and straight vertical lines |
Tools and Room Conditions That Matter
You do not need much. A pencil, a level, a tape measure, a lint-free cloth, a sharp blade and a squeegee with a felt edge cover almost every job. The felt matters because a hard plastic edge can scuff the face of a soft film.
Room conditions matter more than the tools. Installers commonly work within roughly 40 to 90°F, since cold stiffens the adhesive and extreme heat makes it too aggressive to reposition. Let the roll sit in the room for at least 24 hours before you start so it relaxes to the same temperature as the wall.
One more habit saves trouble. If a printed graphic arrives tightly rolled, unroll it and let it lie flat for a day. Forcing a curled sheet onto a wall puts tension into the film that comes back as lifted corners.

Wall Graphics Installation, Step by Step
Wall graphics installation rewards patience more than speed. Work through it in this order:
- Wipe the wall with a lint-free cloth and a non-abrasive cleaner. Skip anything that leaves wax, oil or soap film behind.
- If the paint tolerates it, follow with a 50/50 mix of isopropyl alcohol and water, then let the wall dry completely.
- Mark the position with a pencil and a level. Tape the top edge of the graphic so it hangs where you want it.
- Peel back a few inches of backing at the top and press that section down first.
- Pull the backing away gradually while squeegeeing from the center outward. Do not stretch the film.
- Peel the transfer tape slowly at a sharp angle, holding the graphic down with the squeegee as the tape lifts.
- Finish with a soft dry cloth to clear dust from the surface.
Keep the application dry. Application fluid is common in sign work, but on painted walls it can damage the paint or sit in its pores and weaken the bond. If a piece lands crooked in the first minute or two, lift it gently and reposition it rather than pressing on and hoping.
Hanging Adhesive Wallpaper Panels
The first panel sets the course for every panel after it. Do not trust the corner of the room or the ceiling line; neither is truly straight. Draw a vertical plumb line with a level and align the edge of the first panel to it.
Peel roughly 6 inches of backing from the top and let the film overhang the ceiling by an inch or two for trimming later. Press the exposed section on, then move down in short 4 to 6 inch stretches, working from the middle toward the edges. The adhesive is pressure-activated, so even pressure all the way down counts for more than speed.
At seams, line up the pattern before the edges touch. Panels that are stretched while hanging tend to creep back later and open a hairline gap, which is why film dimensional stability matters on wide walls. Han Yang’s notes suggest that for panels wider than 1 meter, shrinkage below ±0.3% keeps seam misalignment under control.
Around sockets, switch the power off, remove the cover plate and cut a small cross over the opening. Trim the film to the opening with a fresh blade, then refit the plate over the edge. At the baseboard, press a straightedge into the corner and cut along it in a single pass.
When It Goes Wrong: Bubbles, Lifting Edges and Seam Gaps
Problems tend to show up in a predictable order. Bubbles appear within the first hour, edge lift within the first day, and seam gaps weeks later. Knowing which one you are looking at tells you where the mistake began.
| Symptom | Likely cause | Fix |
|---|---|---|
| Bubbles under the film | Trapped air, or gas from paint that had not cured | Lift and re-squeegee; prick a stubborn small bubble with a fine pin and press flat |
| Edges lifting in the first day | Dust, texture or low-adhesion paint | Lift, wipe clean, warm gently and press again |
| Seam gap after a few weeks | Film stretched during hanging, or high shrinkage | Re-hang without tension; choose a stable film next time |
| Peeling in a bathroom | Steam, or moisture coming through the wall | Check the wall for damp, then match the film and adhesive to a humid room |
| Wrinkles near a heater | Heat beyond what the film tolerates | Move away from the source or choose a heat-resistant film |
Matching the Film to the Room
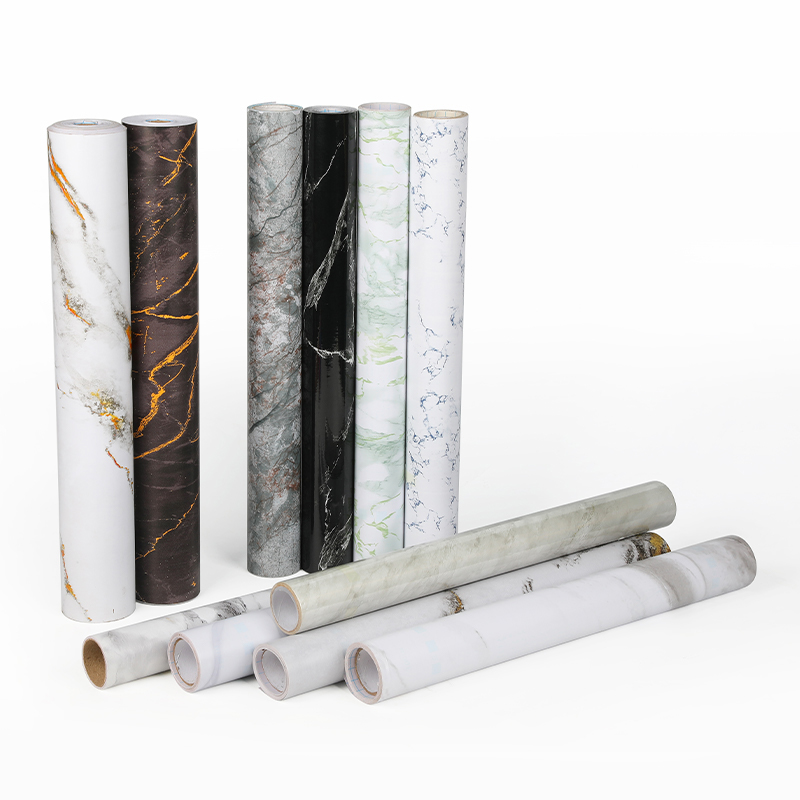
A kitchen asks for different things than a bedroom. Behind a hob you want a surface that tolerates warmth and wipes clean after cooking. The listing for heat- and chemical-resistant marble adhesive foil describes resistance to household cleaners and oils, which is the practical case for a marble pattern in a working kitchen.
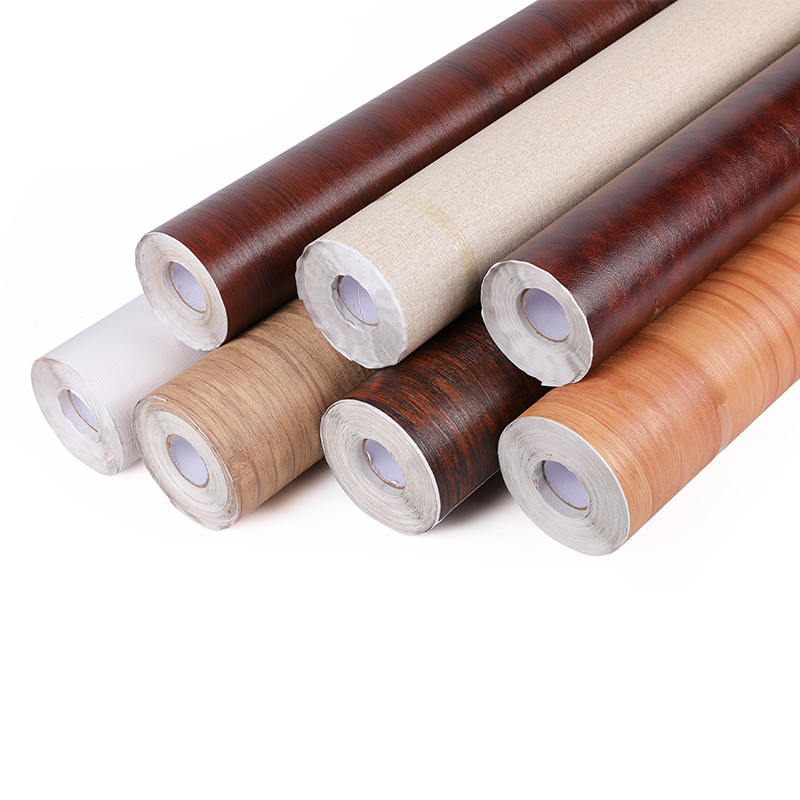
Living rooms and bedrooms lean the other way. Matte and embossed finishes hide fingerprints and light scratches, and soft textures cut glare in rooms with big windows. A woodgrain adhesive foil with an embossed back coating gives depth without the weight of real paneling.
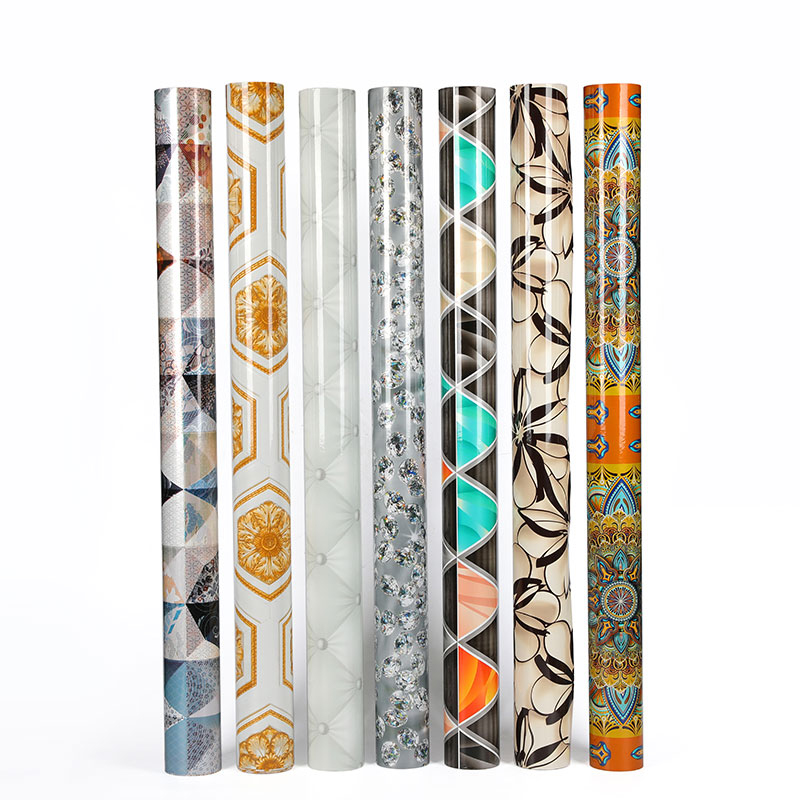
For rentals, pick a removable adhesive system and keep the walls you test hidden. For shops, offices and doors or furniture, a PVC decorative film for walls, doors and furniture may fit better than a wallpaper roll, because it is built for edges and repeated cleaning.
Bathrooms and basements deserve a second look. PVC film blocks airborne moisture from reaching the wall, but it cannot fix a wall that is already wet behind the surface.
Removing and Reusing Without Damaging the Paint
Removal is easier than installation, provided you slow down. Lift one edge until you can grip it, then fold the film back on itself and pull at about 180 degrees, almost parallel to the wall. A steady pace lowers the odds of taking paint with it. On a large piece, pull along the narrowest dimension to keep the force down.
A hair dryer on low warms the adhesive and helps if the film resists. Do not pull straight out from the wall; that angle concentrates the force on a small patch of paint.
Reuse is limited. Some suppliers rate decals as repositionable for around six months, and storing one means pressing the adhesive side back onto the glossy side of its original backing. Adhesive wallpaper is generally a one-time install, so plan the layout for a single pass.
 Previous