 English
 中文简体
 عربى

News
Content
Two Very Different Ways to "Stick" Something to Glass or a Wall
People lump these two products together all the time, and it trips up a lot of first-time installers. Non-adhesive window film isn't sticky at all — it clings to glass through static and surface tension, the same way a wet piece of plastic wrap grips a bowl. Self-adhesive wallpaper is the opposite: it has a real pressure-sensitive adhesive on the back, and once it touches the wall, it's committed.
That single difference changes almost everything about how you install each one. Window film goes on wet, gets slid into position, and only grips once the water evaporates. Wallpaper goes on dry, section by section, and grips the moment it makes contact. Mix up the two techniques and you'll either end up with a window film that won't stay put, or a wallpaper covered in trapped water bubbles that never go away.
Window film's static-cling installation is also why it saves so much on energy bills without needing glue at all — a Department of Energy–funded study on retrofit window films found that even a simple film layer can meaningfully cut the heat gain and loss through glass, which is a big part of why the category exists in the first place.
What a Layer of Window Film Typically Blocks
Figures reflect commonly cited ranges for solar/window film performance, sourced from U.S. Department of Energy–backed research and industry reporting.
What You'll Need Before You Start
Both jobs use a surprisingly similar toolkit, which is part of why people assume the installation process is the same. It isn't — but the shopping list overlaps.
- A spray bottle filled with water and a couple drops of dish soap
- A hard plastic squeegee or an old credit card wrapped in a soft cloth
- A sharp utility knife or scissors for trimming
- A lint-free cloth or paper towels
- A tape measure
The soapy water solution is doing two completely different jobs depending on which material you're using. For window film, it's the entire mechanism — the water lets the film glide across the glass while you position it, then evaporates to leave the static bond behind. For wallpaper, it's just there for cleaning the wall beforehand; once the backing paper comes off, no more water touches the adhesive.
Applying Non-Adhesive (Static Cling) Window Film Step by Step
Start with a window that's spotless. Any dust, fingerprint, or leftover cleaner residue will trap itself under the film as a permanent bump, so wipe the glass down with your soapy water and a lint-free cloth, then dry it completely before you touch the film.
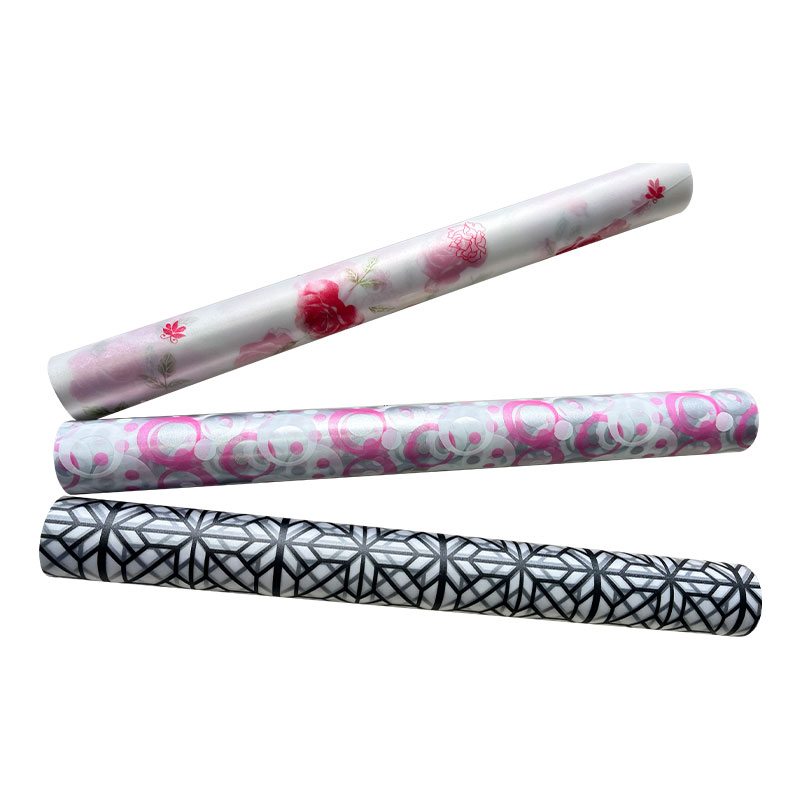
Measure the pane and cut the film about an inch larger on every side — it's much easier to trim off extra than to stretch a piece that came up short. A glue-free static cling film is designed to hold this kind of trim margin without curling at the cut edge, which makes the sizing step a lot more forgiving than it sounds.
Spray the glass generously — more than feels necessary — then peel the backing off the film a little at a time, spraying the exposed sticky-looking side as you go so it doesn't grab the glass before you're ready. Place the film onto the wet glass and let it slide into position. Because there's no real adhesive yet, you've got a minute or two to nudge it square before the water starts pulling it flat.
Once it's aligned, work a squeegee from the center outward in overlapping strokes, pushing water and air out toward the edges rather than trapping it in the middle. Blot the runoff with a paper towel, and leave the film alone for a full day — most static films look done within an hour but don't reach their final clarity and grip until the last bit of moisture has worked its way out from underneath.

Applying Self-Adhesive Wallpaper Step by Step
Wall prep matters even more here than it does for window film, because you don't get the repositioning window that wet glass gives you. Clean the wall, let it dry fully, and check for any old paint flecks or texture that could telegraph through a thin film. A fresh, smooth, lightly sanded surface is what you're after.
Mark a level vertical line where you want your first strip to land — nothing throws off a whole wall of panels faster than a first sheet that was even slightly crooked. Then, instead of pulling all the backing paper off at once, peel back only the first 20–25cm or so. That top strip is your anchor.
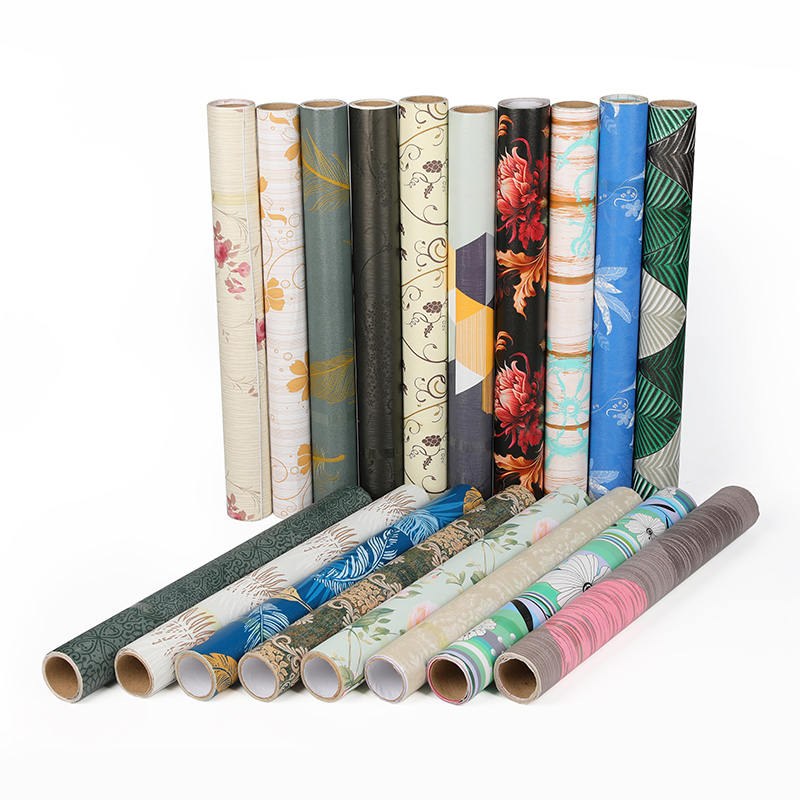
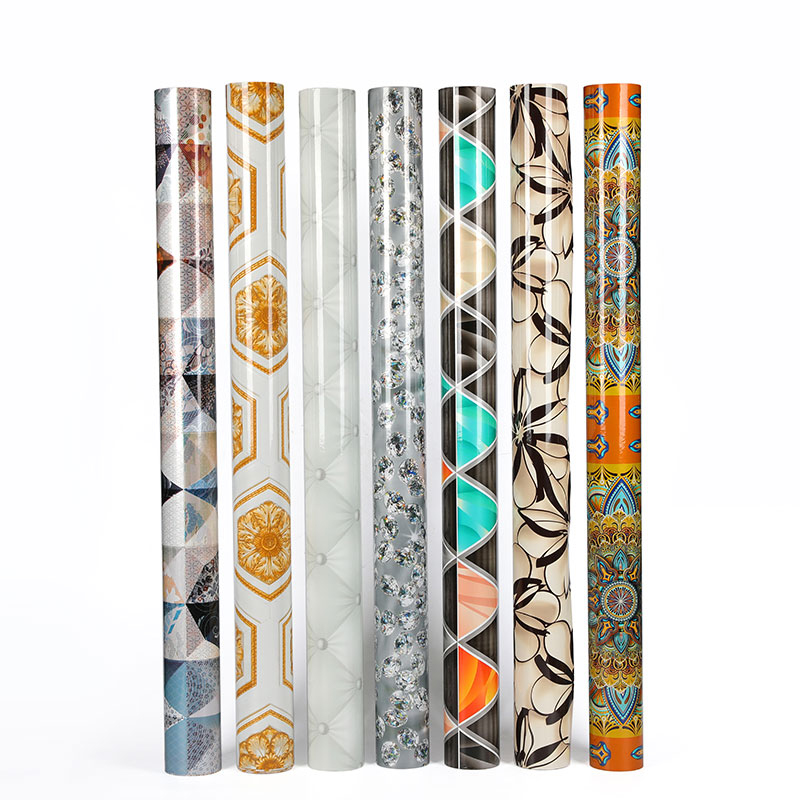
Press that top section into place along your level line, then work your way down, peeling a bit more backing and smoothing as you go with a felt-edged applicator or a soft cloth wrapped squeegee. Go from the center outward on each section to chase air bubbles toward the edges before they get trapped. A self-adhesive PVC foil is thin enough to trim cleanly with a sharp blade once it's fully seated, so save the corner and outlet cutouts for after the sheet is flat rather than trying to pre-cut around them.
If a bubble does sneak in, don't panic and rip it up right away — for most self-adhesive films, you can lift the film gently from the nearest edge and re-lay it while it's still within the first few minutes of contact.
Typical Installation Time, Per Panel
Rough DIY benchmarks for a first-time installer; experienced installers typically finish faster.
Common Mistakes That Ruin the Finish
The single biggest cause of failed installs: skipping the cleaning step. Every bump, streak, or hazy patch traces back to something left on the surface before the film or wallpaper went on.
Beyond that, a few patterns show up again and again. Installing in cold weather is one — most self-adhesive products lose grip below around 10°C (50°F), so a chilly garage or an unheated room in winter is asking for edges that lift within days. Rushing the squeegee pass is another; short, choppy strokes leave trapped bubbles that longer, overlapping strokes would have pushed out.
Textured or matte-painted walls are a common trap for wallpaper specifically — the adhesive needs a reasonably smooth surface to grip evenly, and a heavily textured wall will leave gaps under the film that show up as dull patches later. And for window film, spraying too little water is the usual culprit behind stubborn bubbles: more solution, not less, is almost always the fix.

Which One Should You Use?
If the goal is glass — privacy, glare control, a decorative pattern on a shower door or storefront — non-adhesive static film is the easier and more forgiving choice, and it comes off clean whenever you're ready to change it. It's also the better pick for rentals, since there's no adhesive residue left behind on the glass.
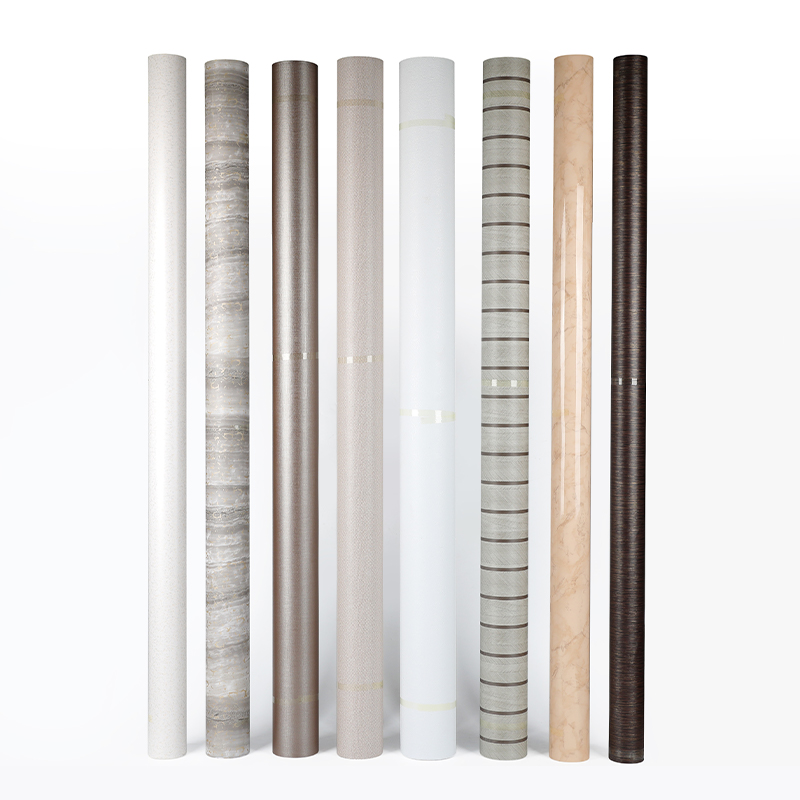
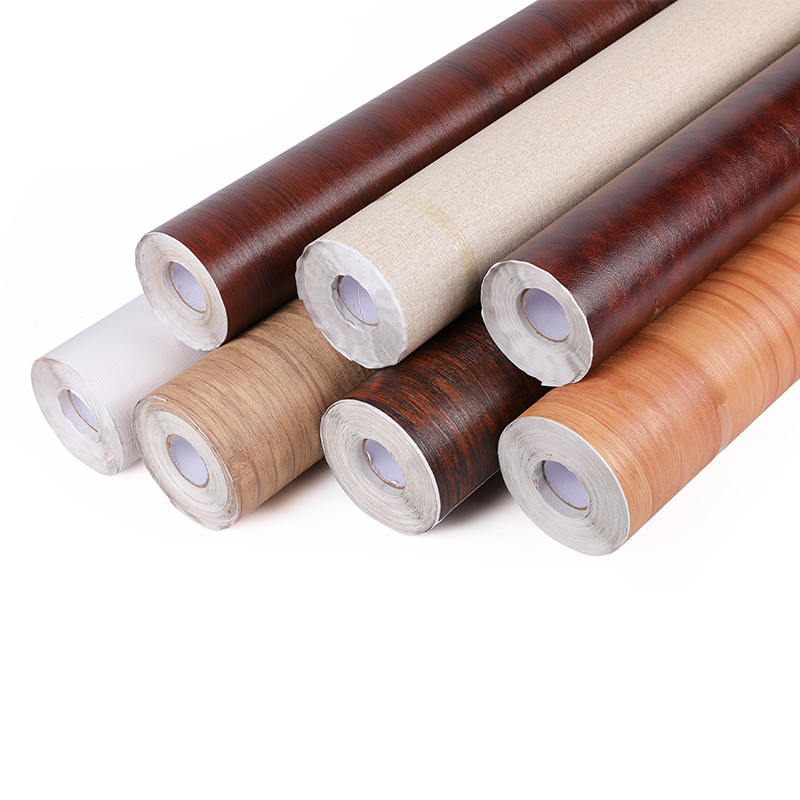
If the goal is a wall, cabinet front, or furniture surface, self-adhesive wallpaper holds up to more handling and daily contact than a static film ever could. A plain color self-adhesive foil works well for exactly this kind of surface, giving a clean, even finish that static cling products aren't built to provide on a vertical wall away from glass.
| Factor | Non-Adhesive Window Film | Self-Adhesive Wallpaper |
|---|---|---|
| Bonding method | Static cling (water-activated) | Pressure-sensitive adhesive |
| Best surface | Glass, non-porous panes | Smooth walls, cabinets, doors |
| Repositionable | Yes, while glass stays wet | Only in the first few minutes |
| Removal | Peels off, no residue | Residue possible on some paints |
| Full grip/cure time | ~24 hours | Immediate on contact |
| Ideal for rentals | Yes | Depends on wall finish |
Understanding how a PVC decorative film's construction affects its durability and design flexibility is worth a read before ordering either product in bulk, since the layer structure behind the material is what determines whether it'll still look right on the wall a year from now, not just how it looks on day one. Match the material to the surface it's actually going on, and most of the installation problems above never come up in the first place.
 Previous